Well hello friends! This post has been a LONG time coming, but I’m going to cut myself some slack because after all, there is a pandemic going on. I’ve been meaning to sit down and write this post for weeks, but I find myself with very little spare time these days between homeschooling two socially deprived, stir crazy kids and trying to keep my house from looking like a disaster zone. But I’m prioritizing getting this posted this week because I have an amazing, new to me product that I’ve been dying to share with you!
Like many of you I’m sure, we’re also tackling those home projects that have been on the to do list for ages but have always been put off. Well, now we’ve got nothing but spare time so the first thing we decided to check off that list was to refinish our breakfast room table. We purchased our table from Home Source back in 2016 during one of their warehouse sales. The table was unfinished and the raw wood was GORGEOUS, but we knew that with a toddler and a baby on the way that we were going to need to seal and protect it. My husband used General Finishes water based polyurethane on it and while it sealed the wood, it completely altered the color of the beautiful wood and we were never happy with the finish. But with a move in the works and a baby due soon we did not have the time to re-do it.

Flash forward to 2020 and that baby is now three and his big sister is six, and that table has had many a fork drug across its’ surface over the years. It was definitely time to refinish it and now we had the time to tackle it! First step was sanding off all of the old polyurethane. Once we did we could see that beautiful wood we fell in love with, and decided the priority would be trying to preserve the ashy, matte finish and color that we loved.
Thus began the product search and tests. We actually removed some scalloping from the edge of the table that I didn’t like, so that gave us a lot of scrap pieces to test on. Here’s what we tried:
- Varathane oil based polyurethane – clean satin
- Minwax paste finishing wax – natural
- Minwax tung oil finish
- Watco Danish Oil – natural & dark walnut
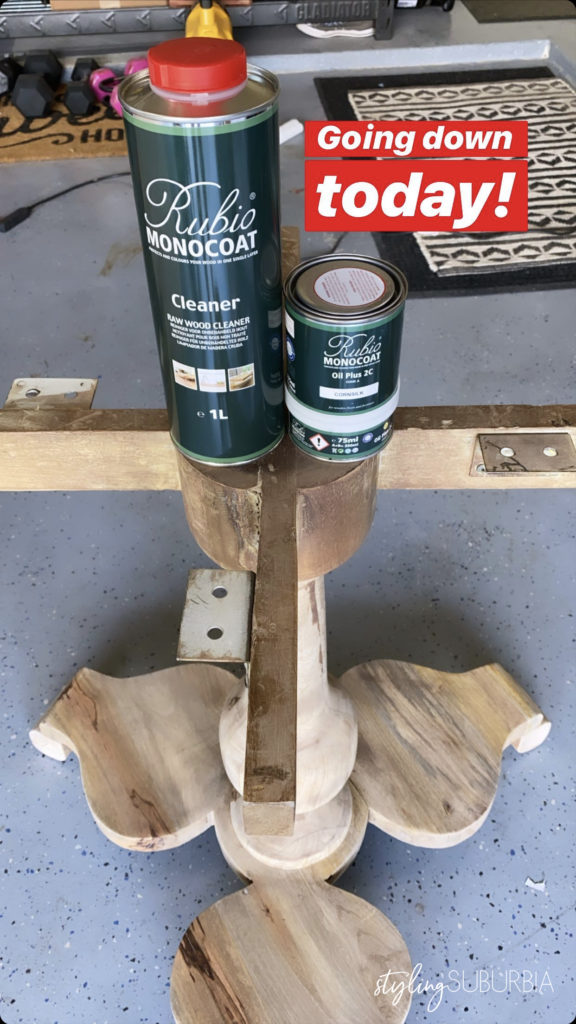
NONE of these products were keepers for us. They all turned the wood very orange and much darker. The best of the bunch was the finishing wax. It still messed with the color, but the finish was very matte and had a nice feel to it. I was posting all of this in real time on my Instagram stories, and a fellow home account messaged me about a brand called Rubio Monocoat and told me it was worth checking out, especially if we wanted to preserve that ashy, matte look and feel. We were at a dead end, so we decided to browse their website and see what it was all about.
The first step was narrowing down which product we needed for our project. We found what we needed under their Interior tab and then under Protection. We landed on their Rubio Monocoat Oil Plus 2C product. Their website states that it colors and protects in a single layer, so we were intrigued! There were samples to choose from and order, so we started there. We ordered four color samples to test out. I tried to choose the colors that I though best matched the natural color of the wood. Once tested on our scrap pieces, I can honestly say that all four colors were gorgeous, but we landed on Cornsilk as the best match for our table. From there we ordered the full size product.
Once everything came in, we prepped the surface by fixing any issues and sanding with 80 grit through 120 grit to get the surface smooth to the touch. We had to start with 80 grit because our children have been rough on this table… After that, we lightly sanded with 220 grit quickly with an orbital sander because it’s a table and we wanted it to feel smoother than a 120 grit provides. This is an optional step, but one that we went ahead and did. Next, make sure the wood is clean of sawdust and anything that would prevent the Monocoat from adhering. We did this by blowing the sawdust off first with compressed air, then wiping the whole table down with a tack cloth. Lastly, we cleaned the wood with Rubio’s raw wood cleaner.
Now you’re ready to apply the product by mixing the proper ratio of A to B. Mix well. We did this in a red solo cup with a tongue depressor. You really have a few hours (I believe 6) after mixing before it starts to really harden so there is no need to rush.

Next we applied a little bit of the mixed oil by pouring it directly onto the table and spread it out with a squeegee over the surface. A little goes a long way, so take it slow. We also used white buffing pads after spreading it with the squeegee to help spread the oil around the tabletop and aggressively worked the oil and color into the wood. This whole process took about 5 minutes from start to finish so the Monocoat sat on the table for a 5 minute window. We then buffed the remainder of the product off with terry cloth rags. After this we let it sit for 7 days inside the house until we used it. Rubio says the surface can be used 24-36 hours after the application, but to wait 5 days before getting it wet. We gave it 7 to be safe since we have messy children!
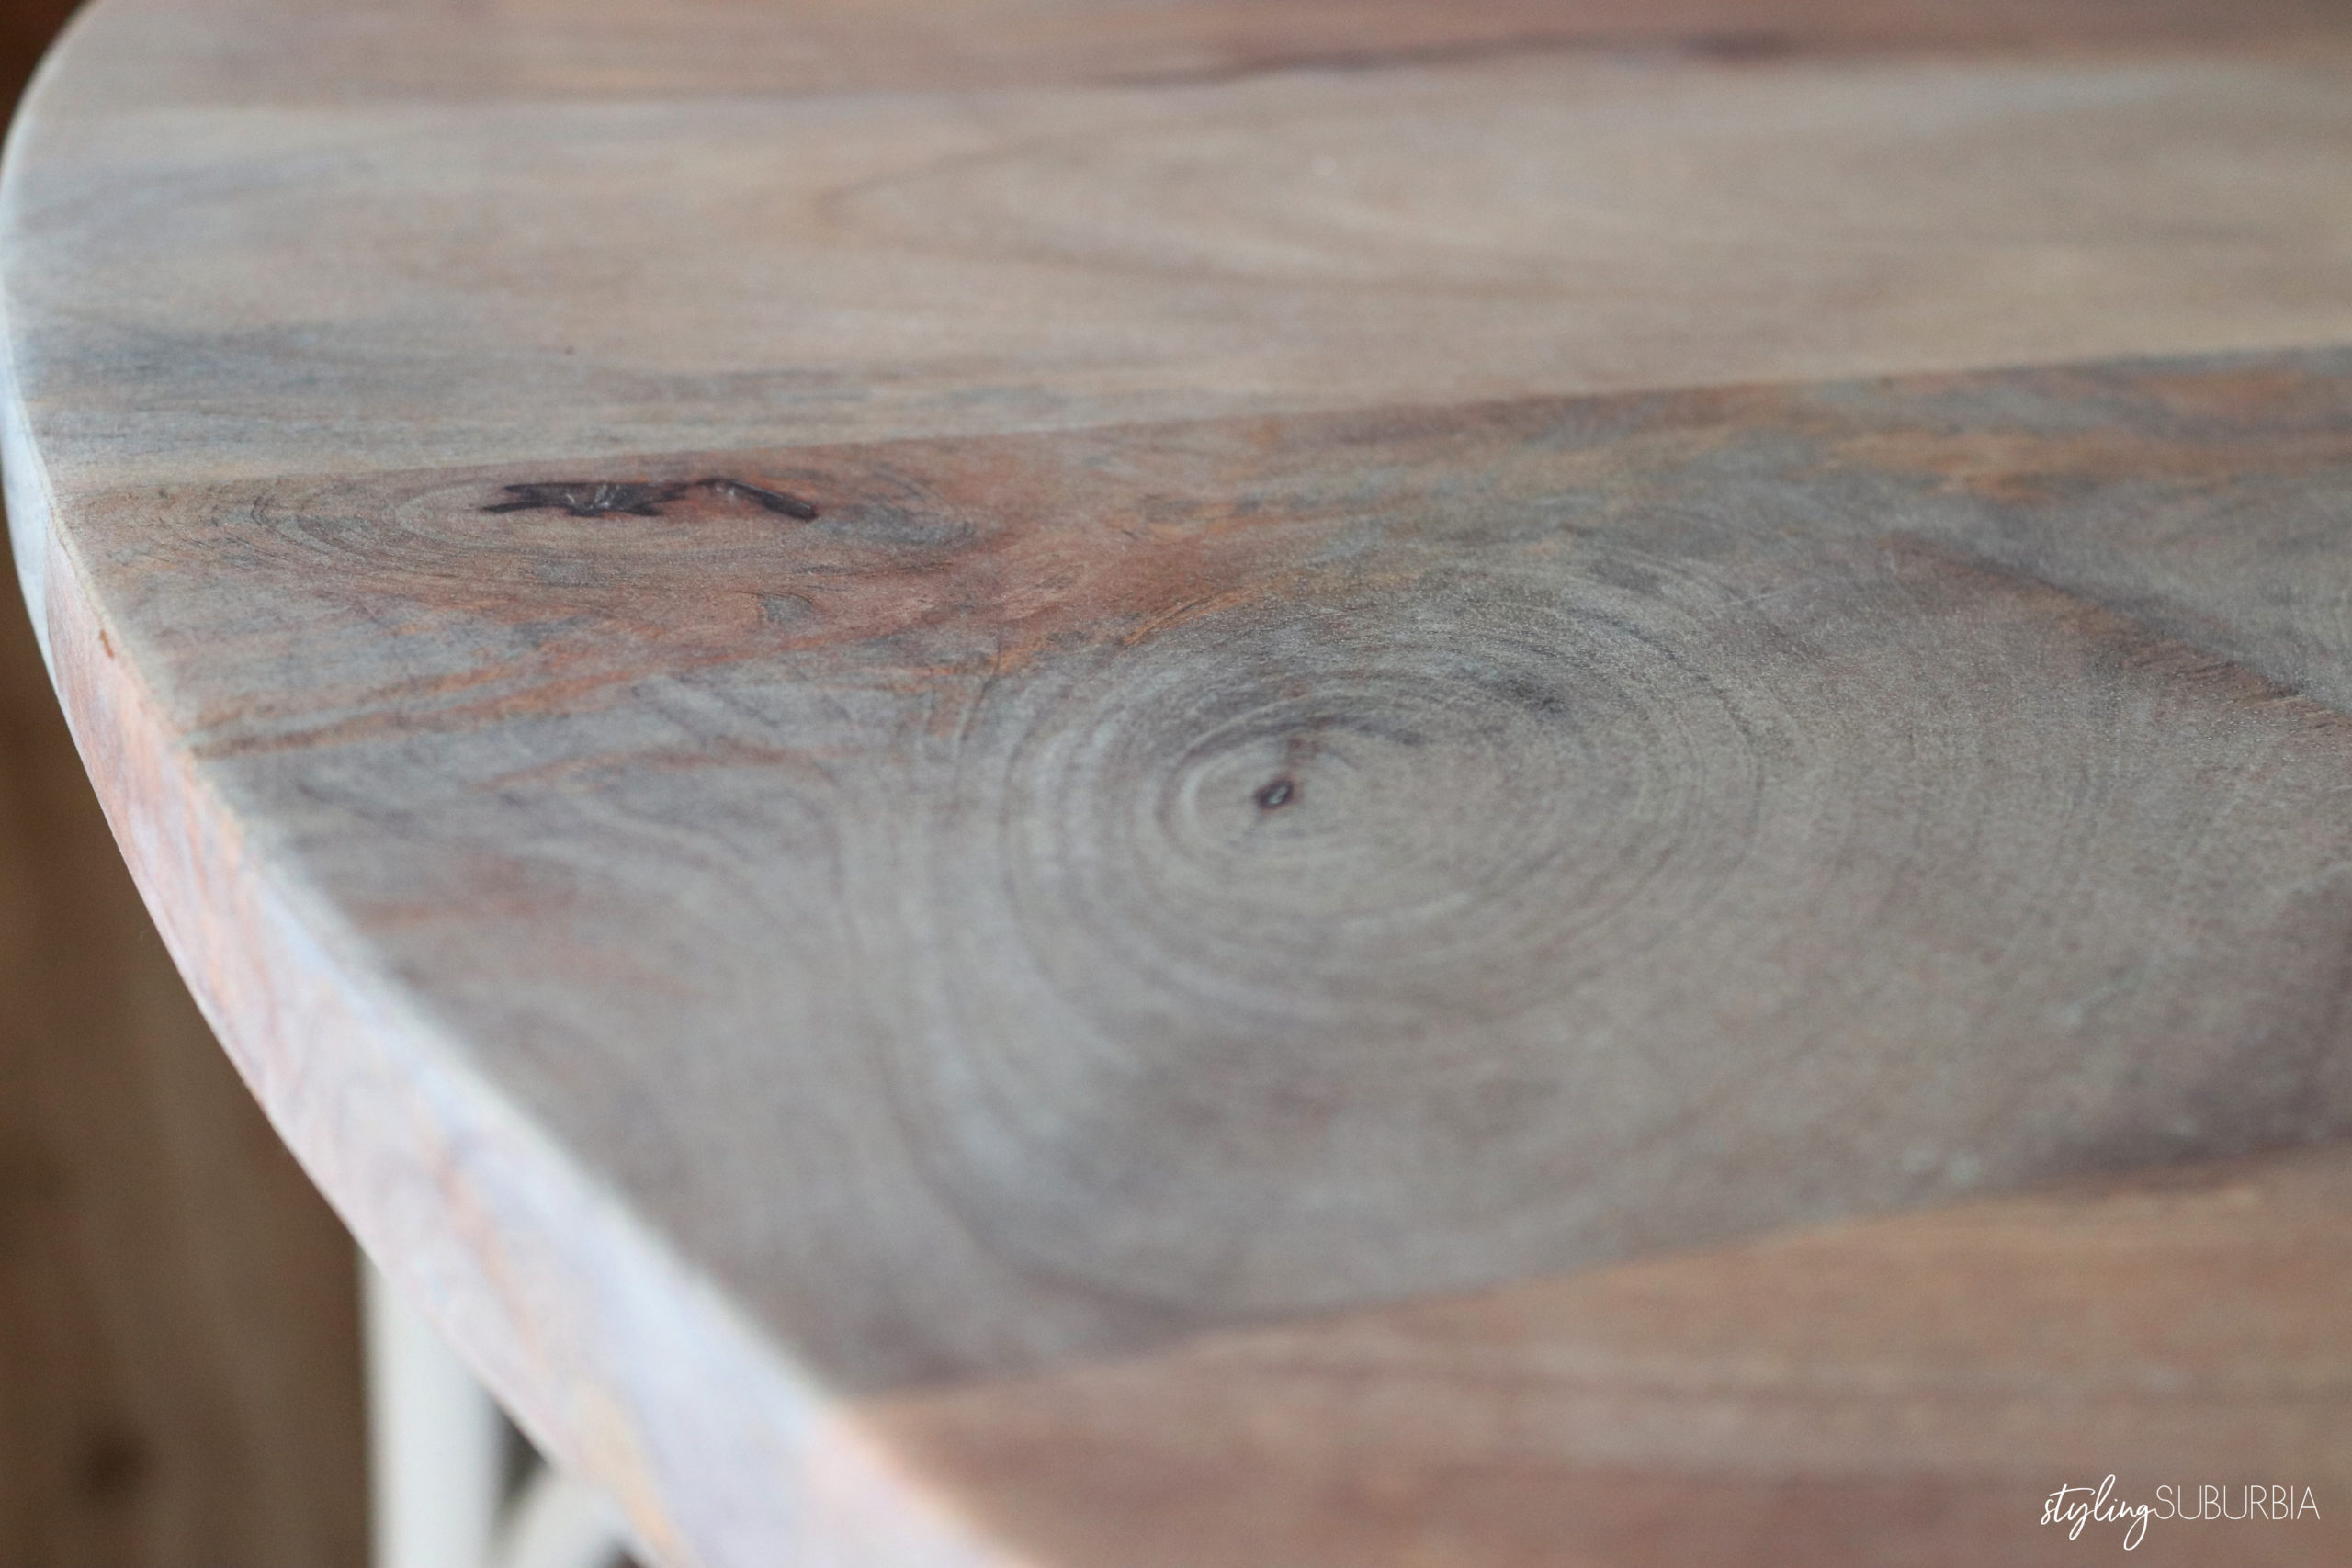
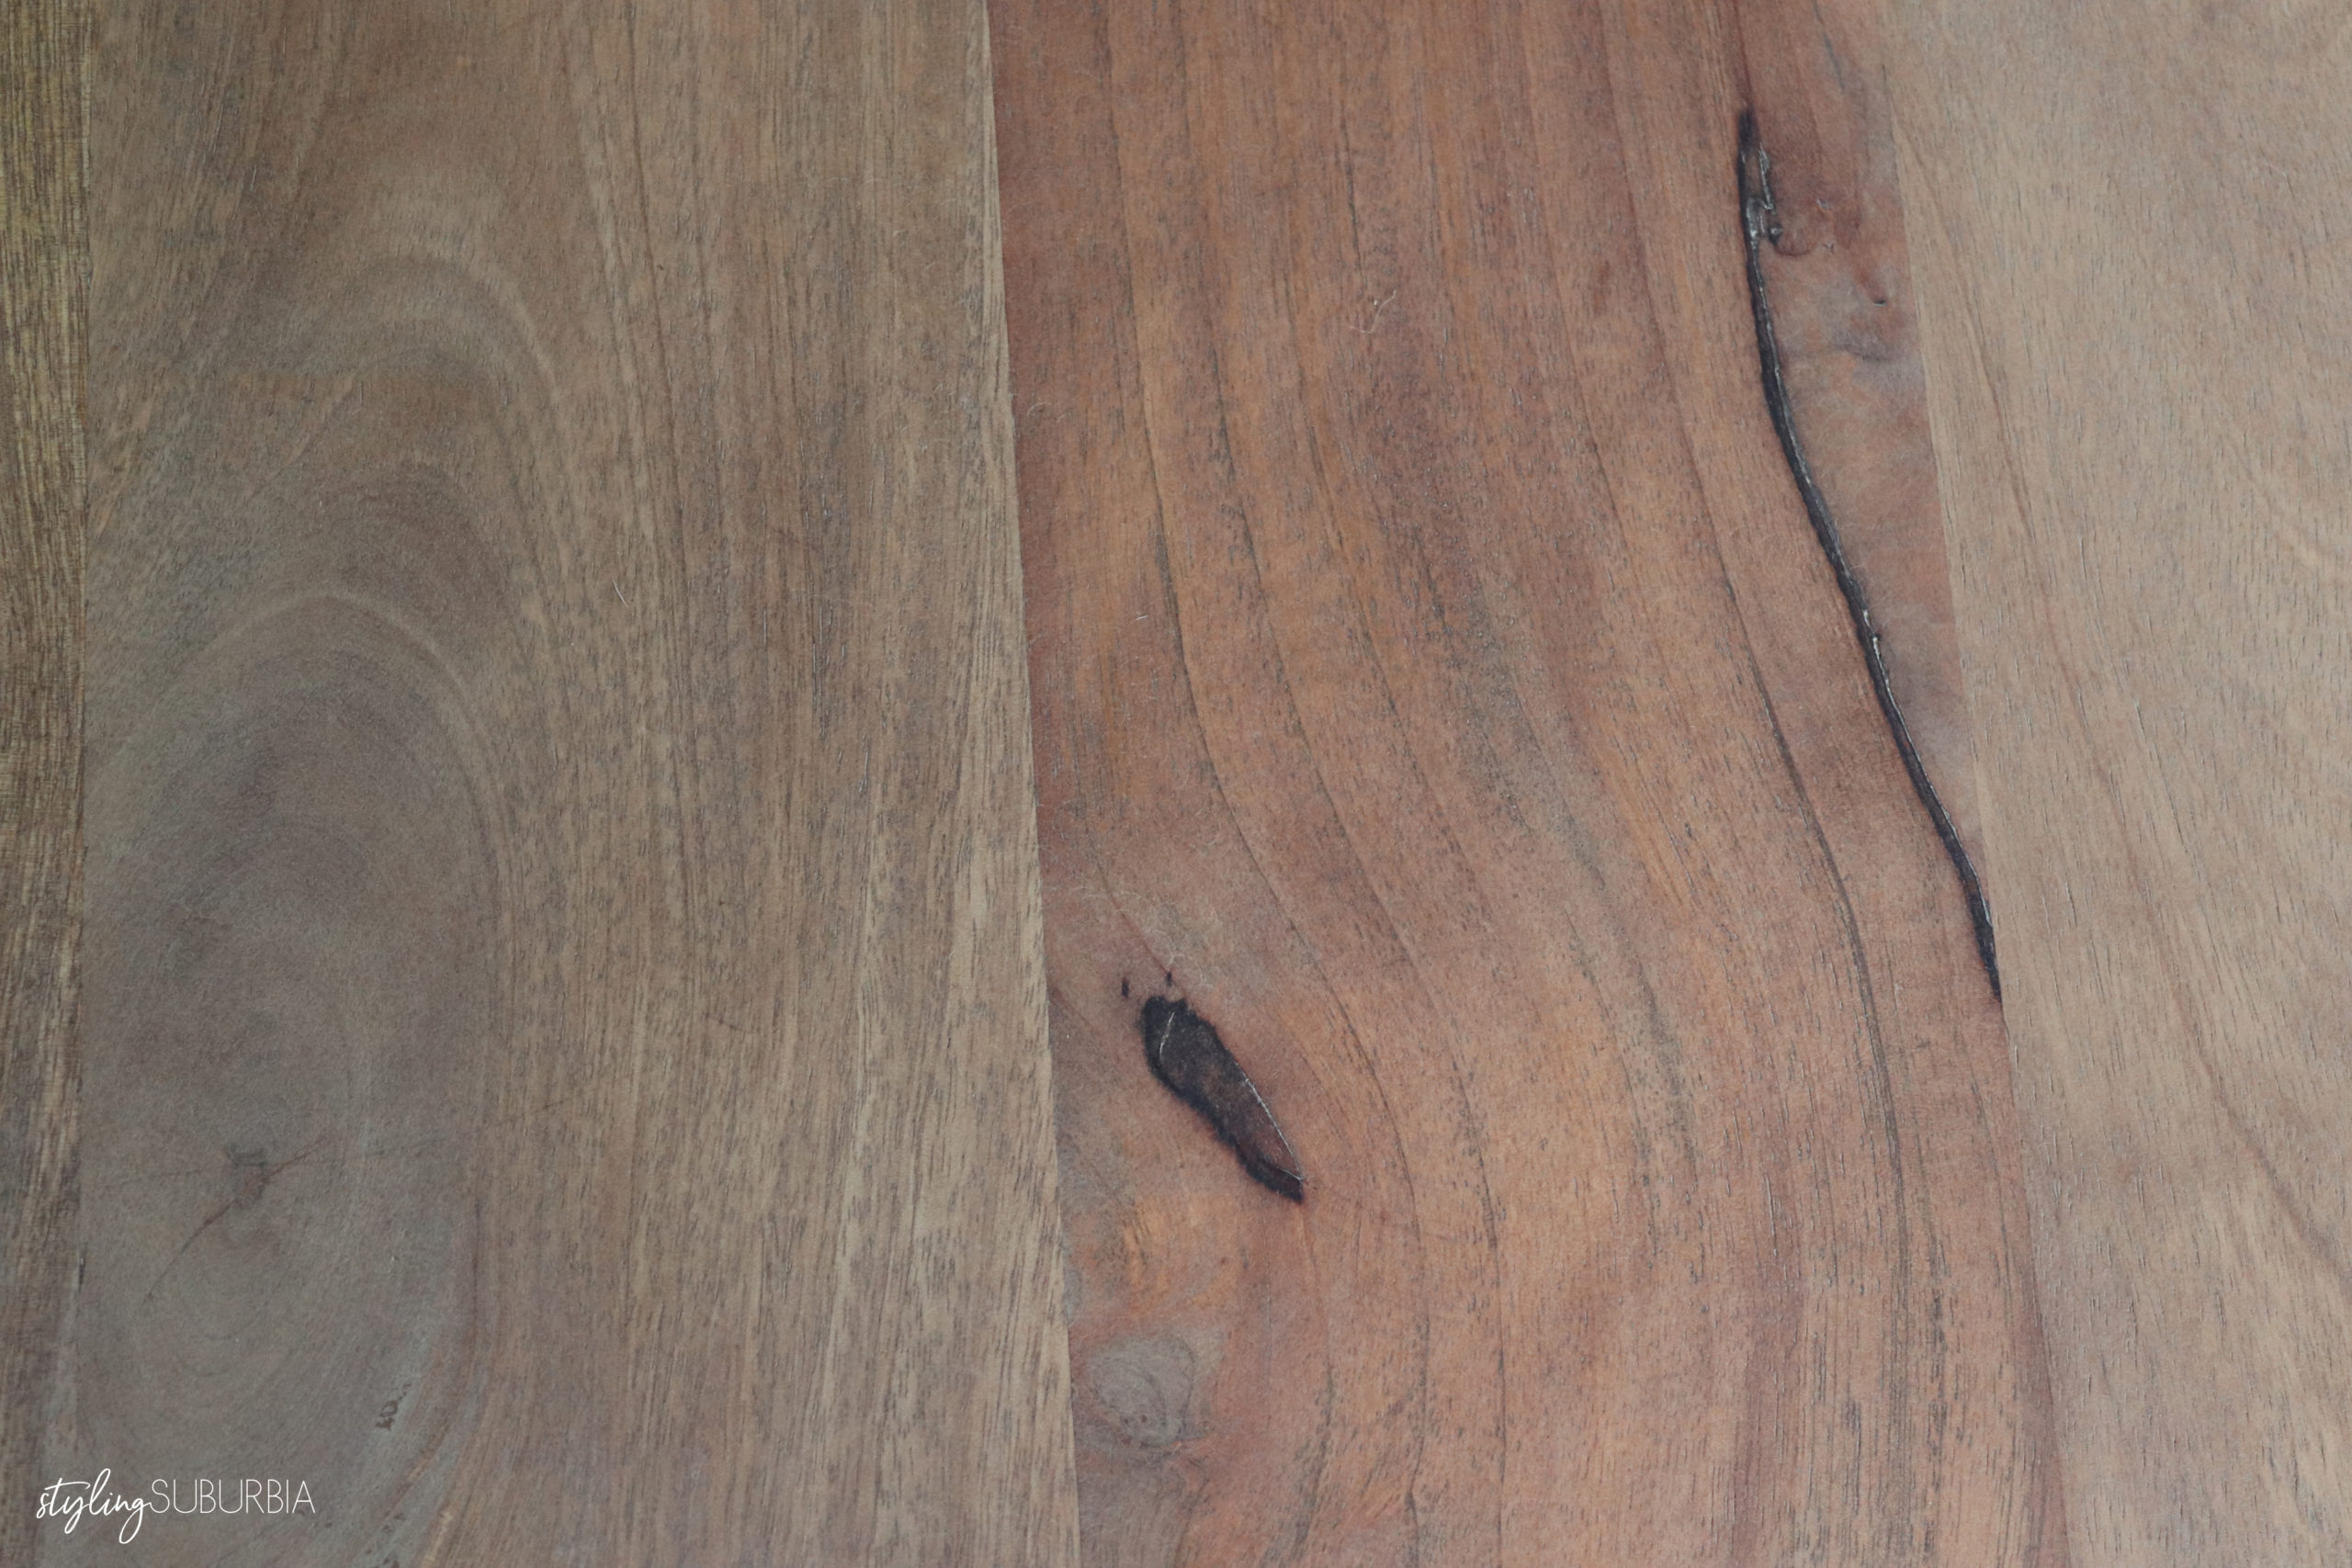
Now for my opinions of this product. The finish is AMAZING. Perfectly smooth and has the gorgeous matte finish that I was looking for. Application was practically fool proof and very simple to apply. You really can’t mess this up. No need to worry about overlap lines or anything like that. The key was in the prep work. You really need to make sure the wood is sanded and CLEAN, so don’t skimp out when it comes to these steps. I also highly recommend the white buffing pads. You can also purchase these from Rubio directly or any home improvement store. Keep in mind with raw wood furniture that has different grain patterns and knots being stained, that the wood will absorb different amounts of the product and the color will vary when its cured (see photos below).
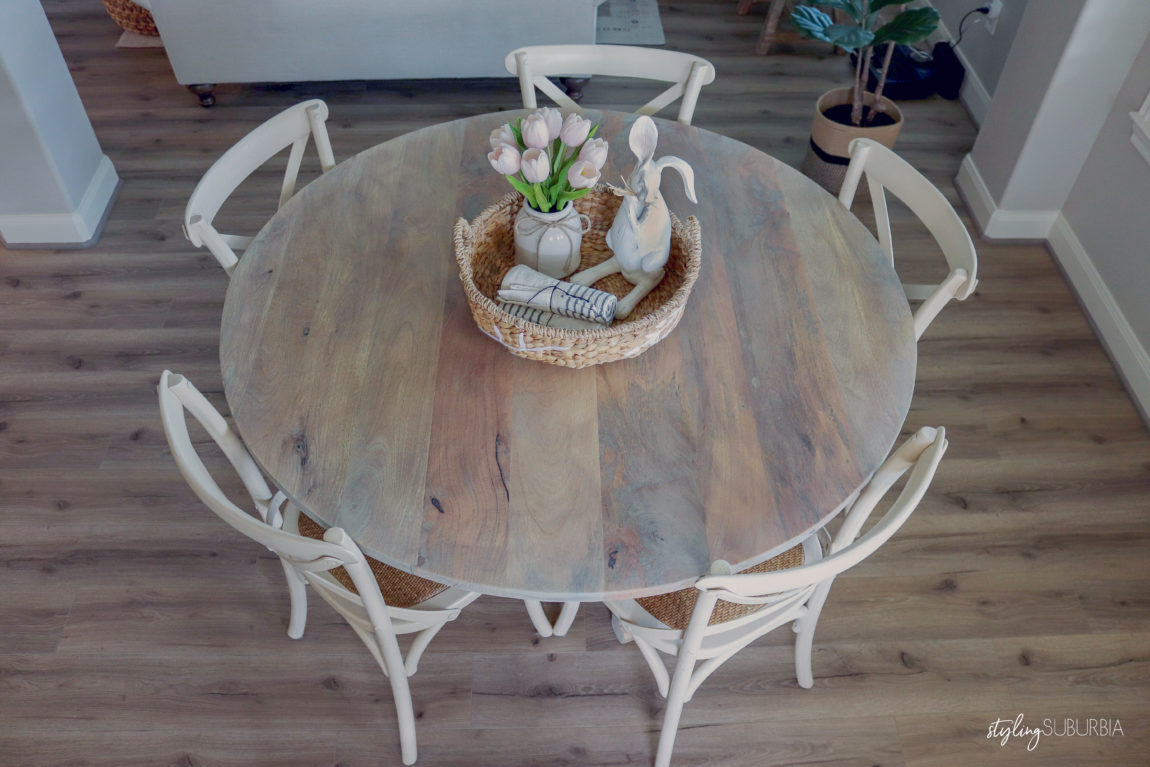
I am beyond pleased with the way this table turned out. The finish is perfection, and I’m so glad that we discovered this product! If you’d like to see us applying the product in real time and our immediate reaction, view my furniture highlights on my Instagram page here.
Here are some photos of the finished product! I’m also going to include links at the end of this post, so keep scrolling:


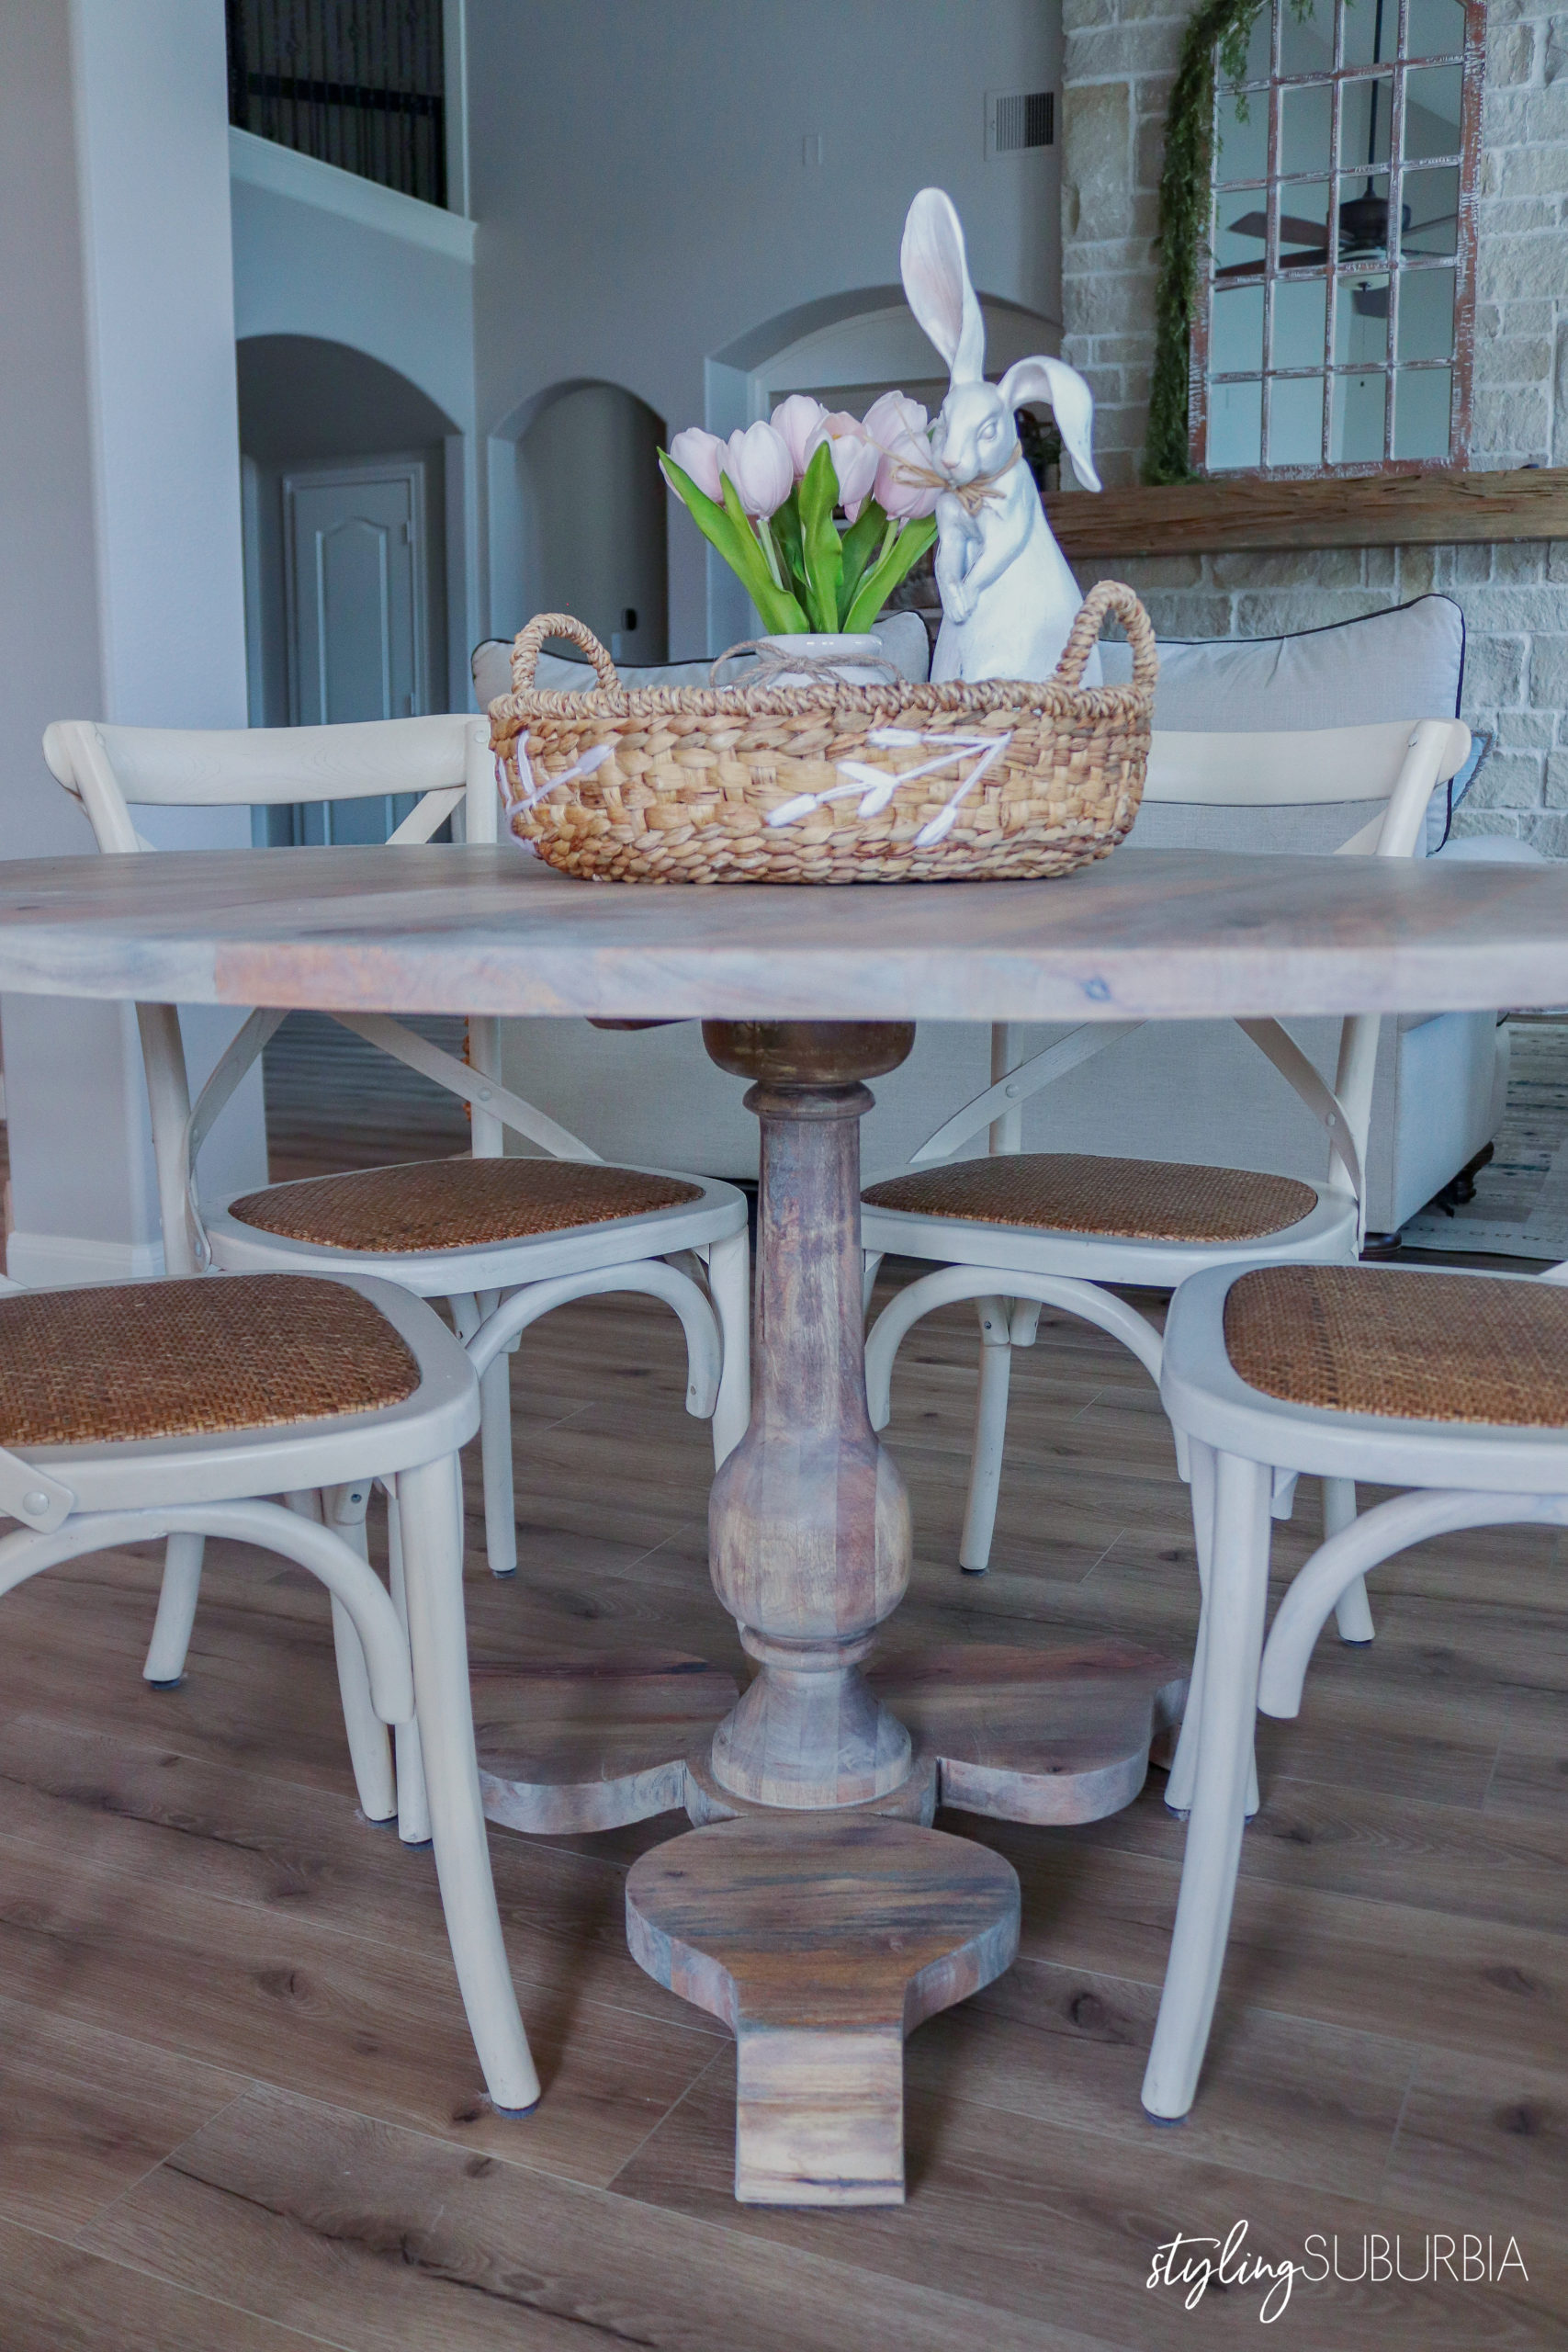
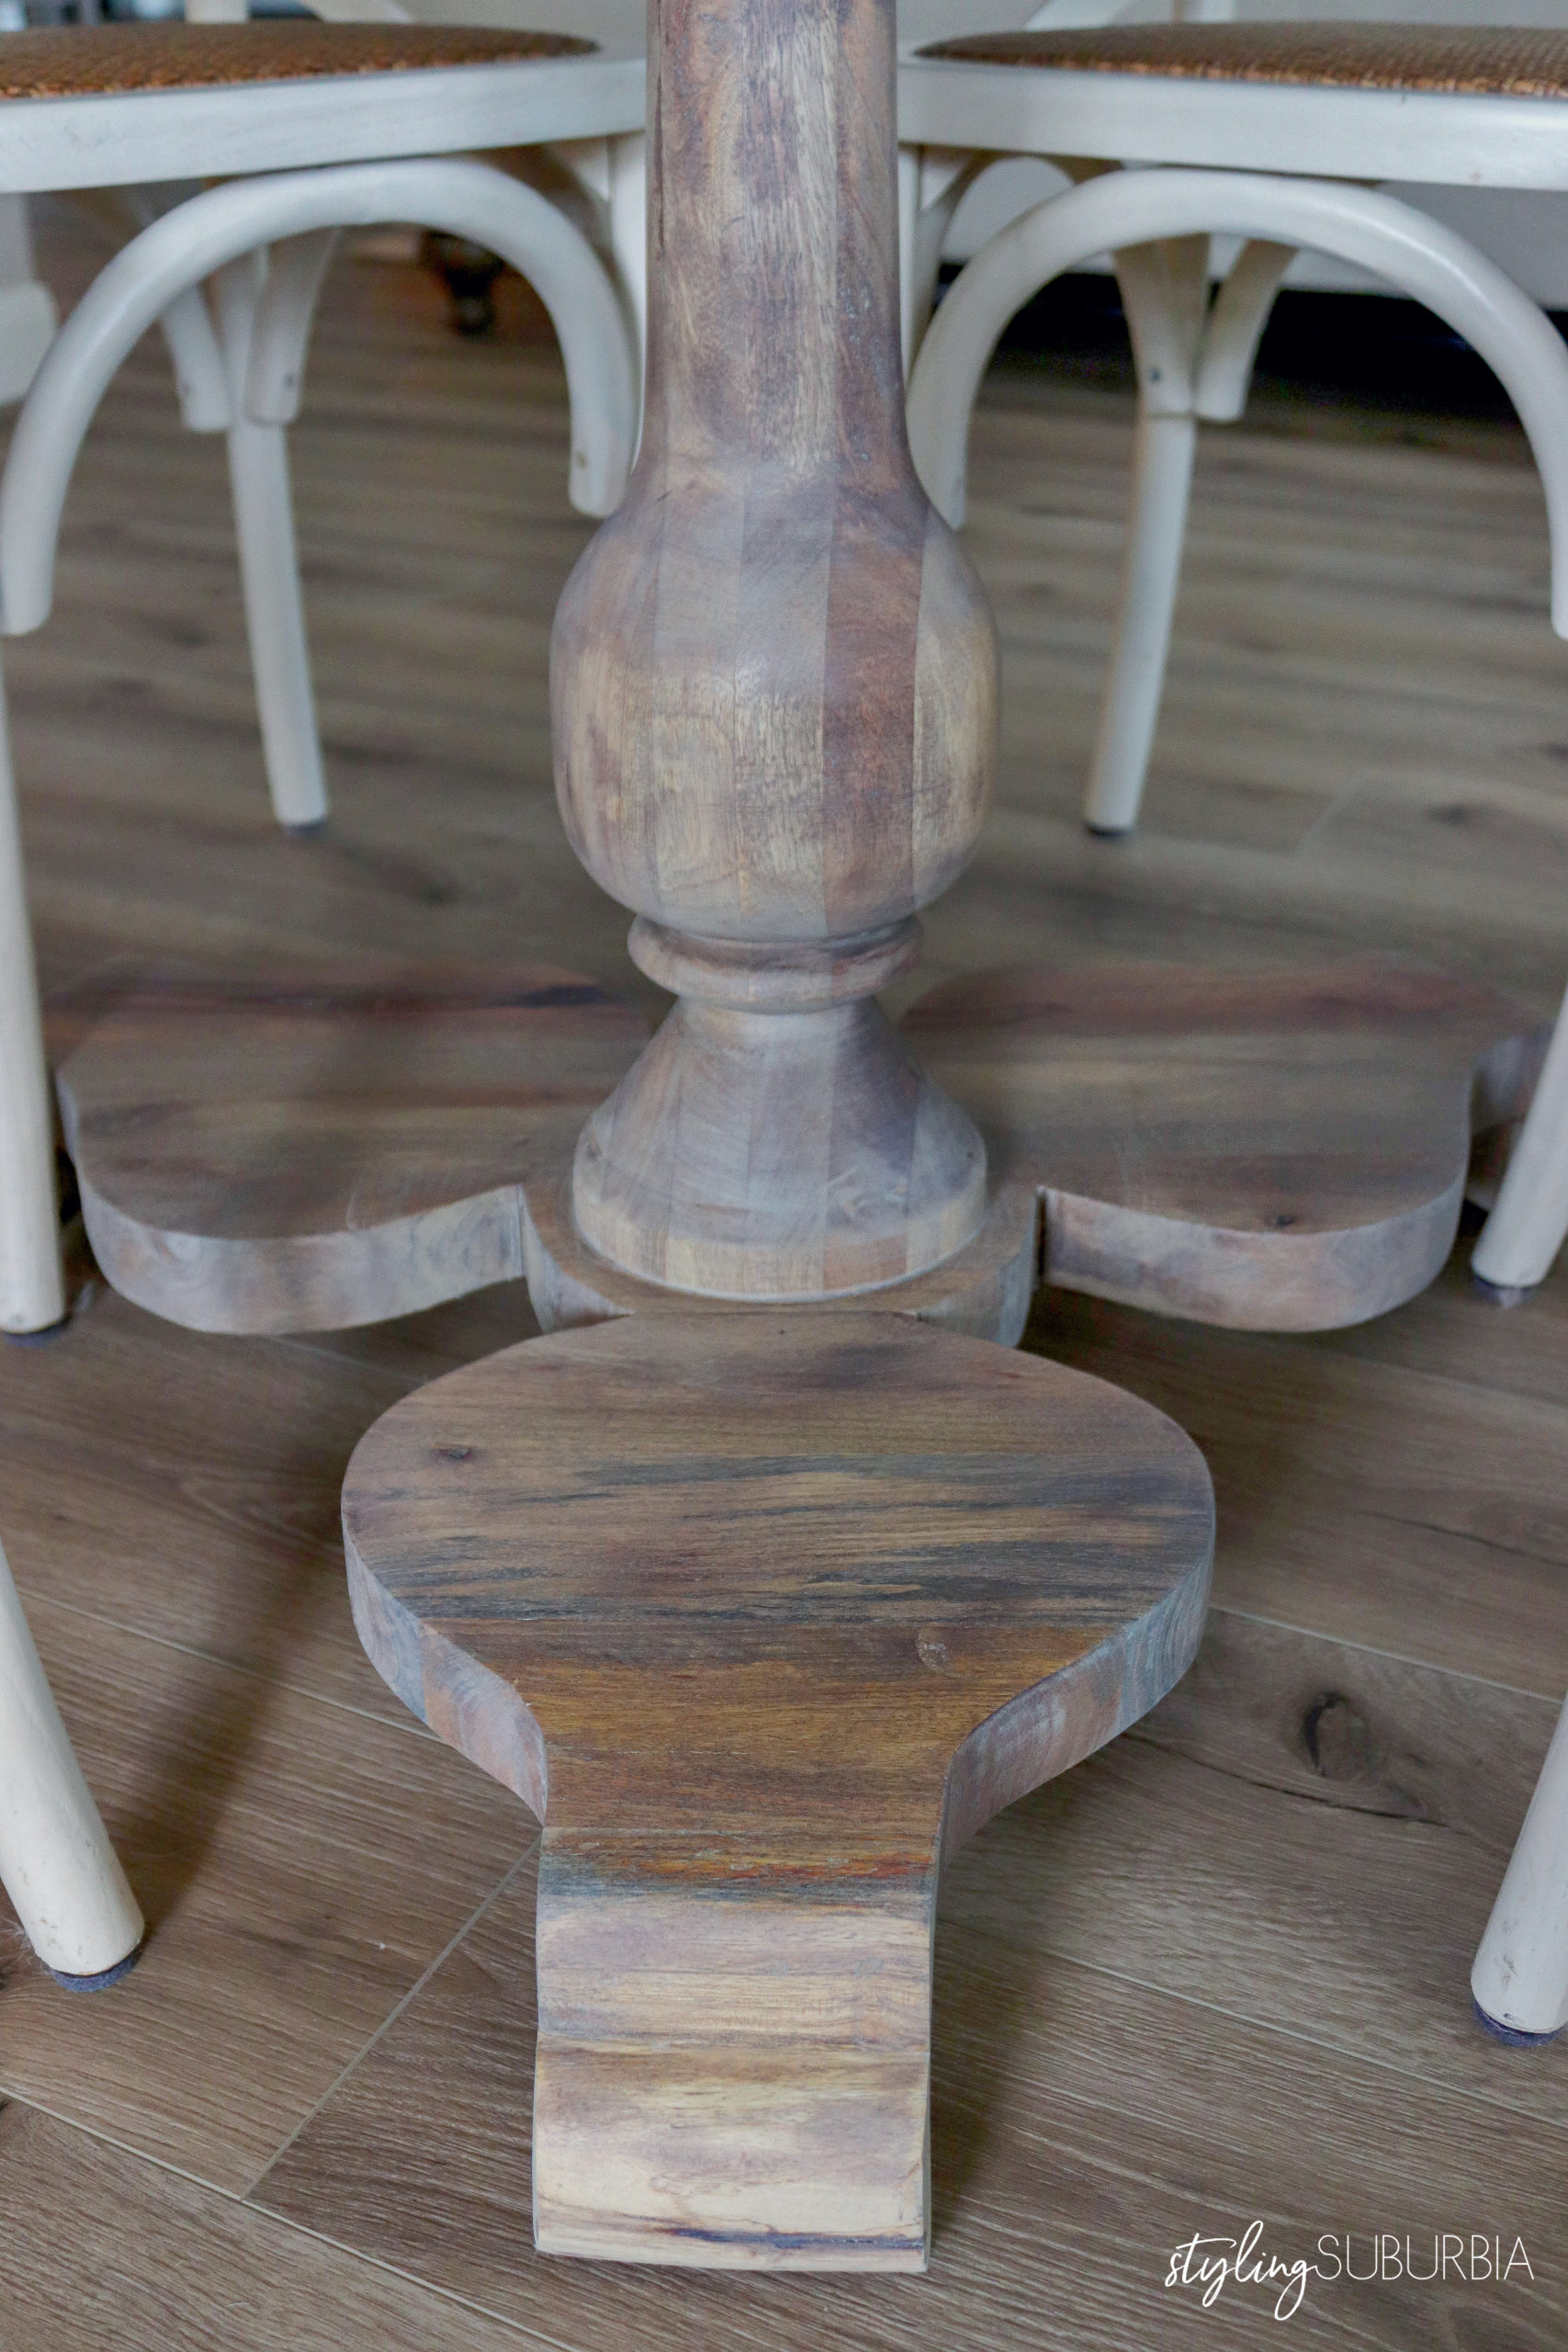
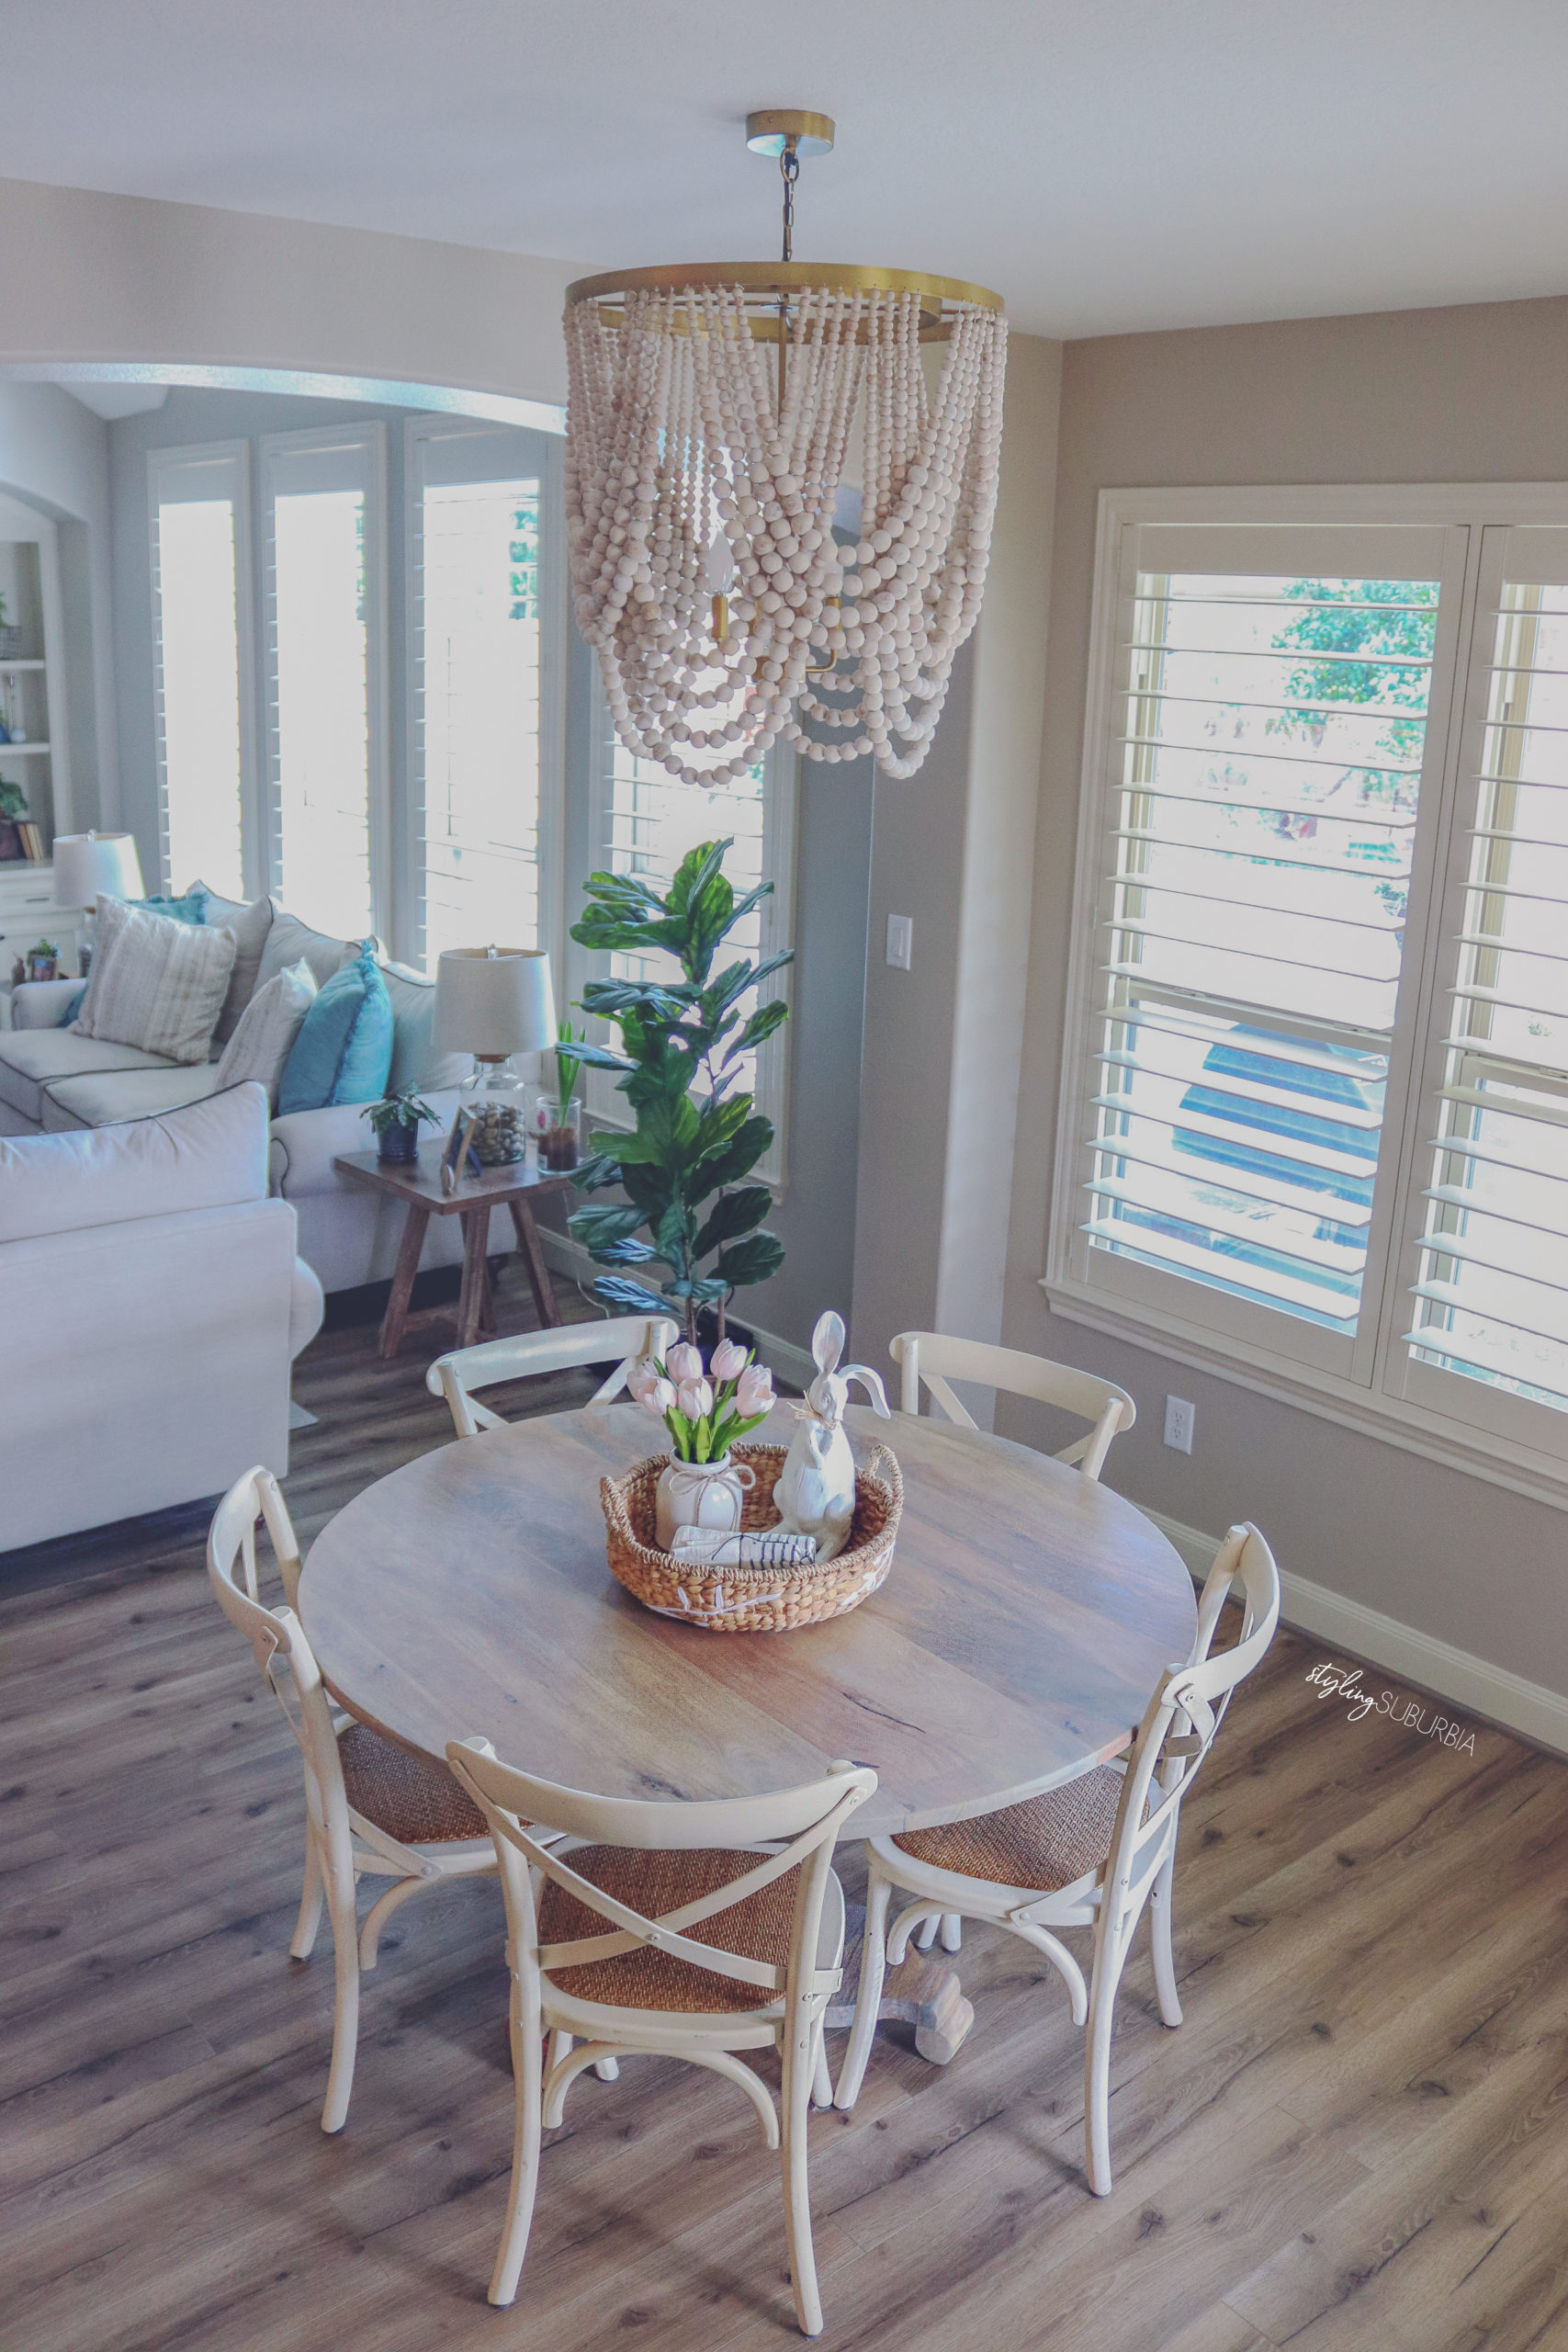

Didn’t it turn out beautifully?! If you have a furniture project in the works and don’t want to paint or stain, I HIGHLY recommend this product. It is so unique and again, the finish is absolute perfection. Learn more about Rubio Monocoat Oil Plus 2C here and purchase online here. Click here to view colors on different wood species, and here to visit their homepage. I also recommend using their universal soap for everyday cleanup here.
Again, this table was purchased back in 2016 and is no longer available, but click here to shop current in stock kitchen and dining tables.
Supplies: | Buffing Pads | Orbital Sandpaper | Orbital Sander | Squeegee |
What do y’all think? I’d love to hear your opinions and if you’re familiar with this product. I hope this post was helpful, as I know it can be stressful trying to narrow down products for such a highly used piece of furniture. Let me know your thoughts in the comments here or on Instagram!
This post contains affiliate links. I will make a small commission if you make a purchase through one of these links, at no extra cost to you. Shopping through my links is GREATLY appreciated 🙂
This post was NOT sponsored.