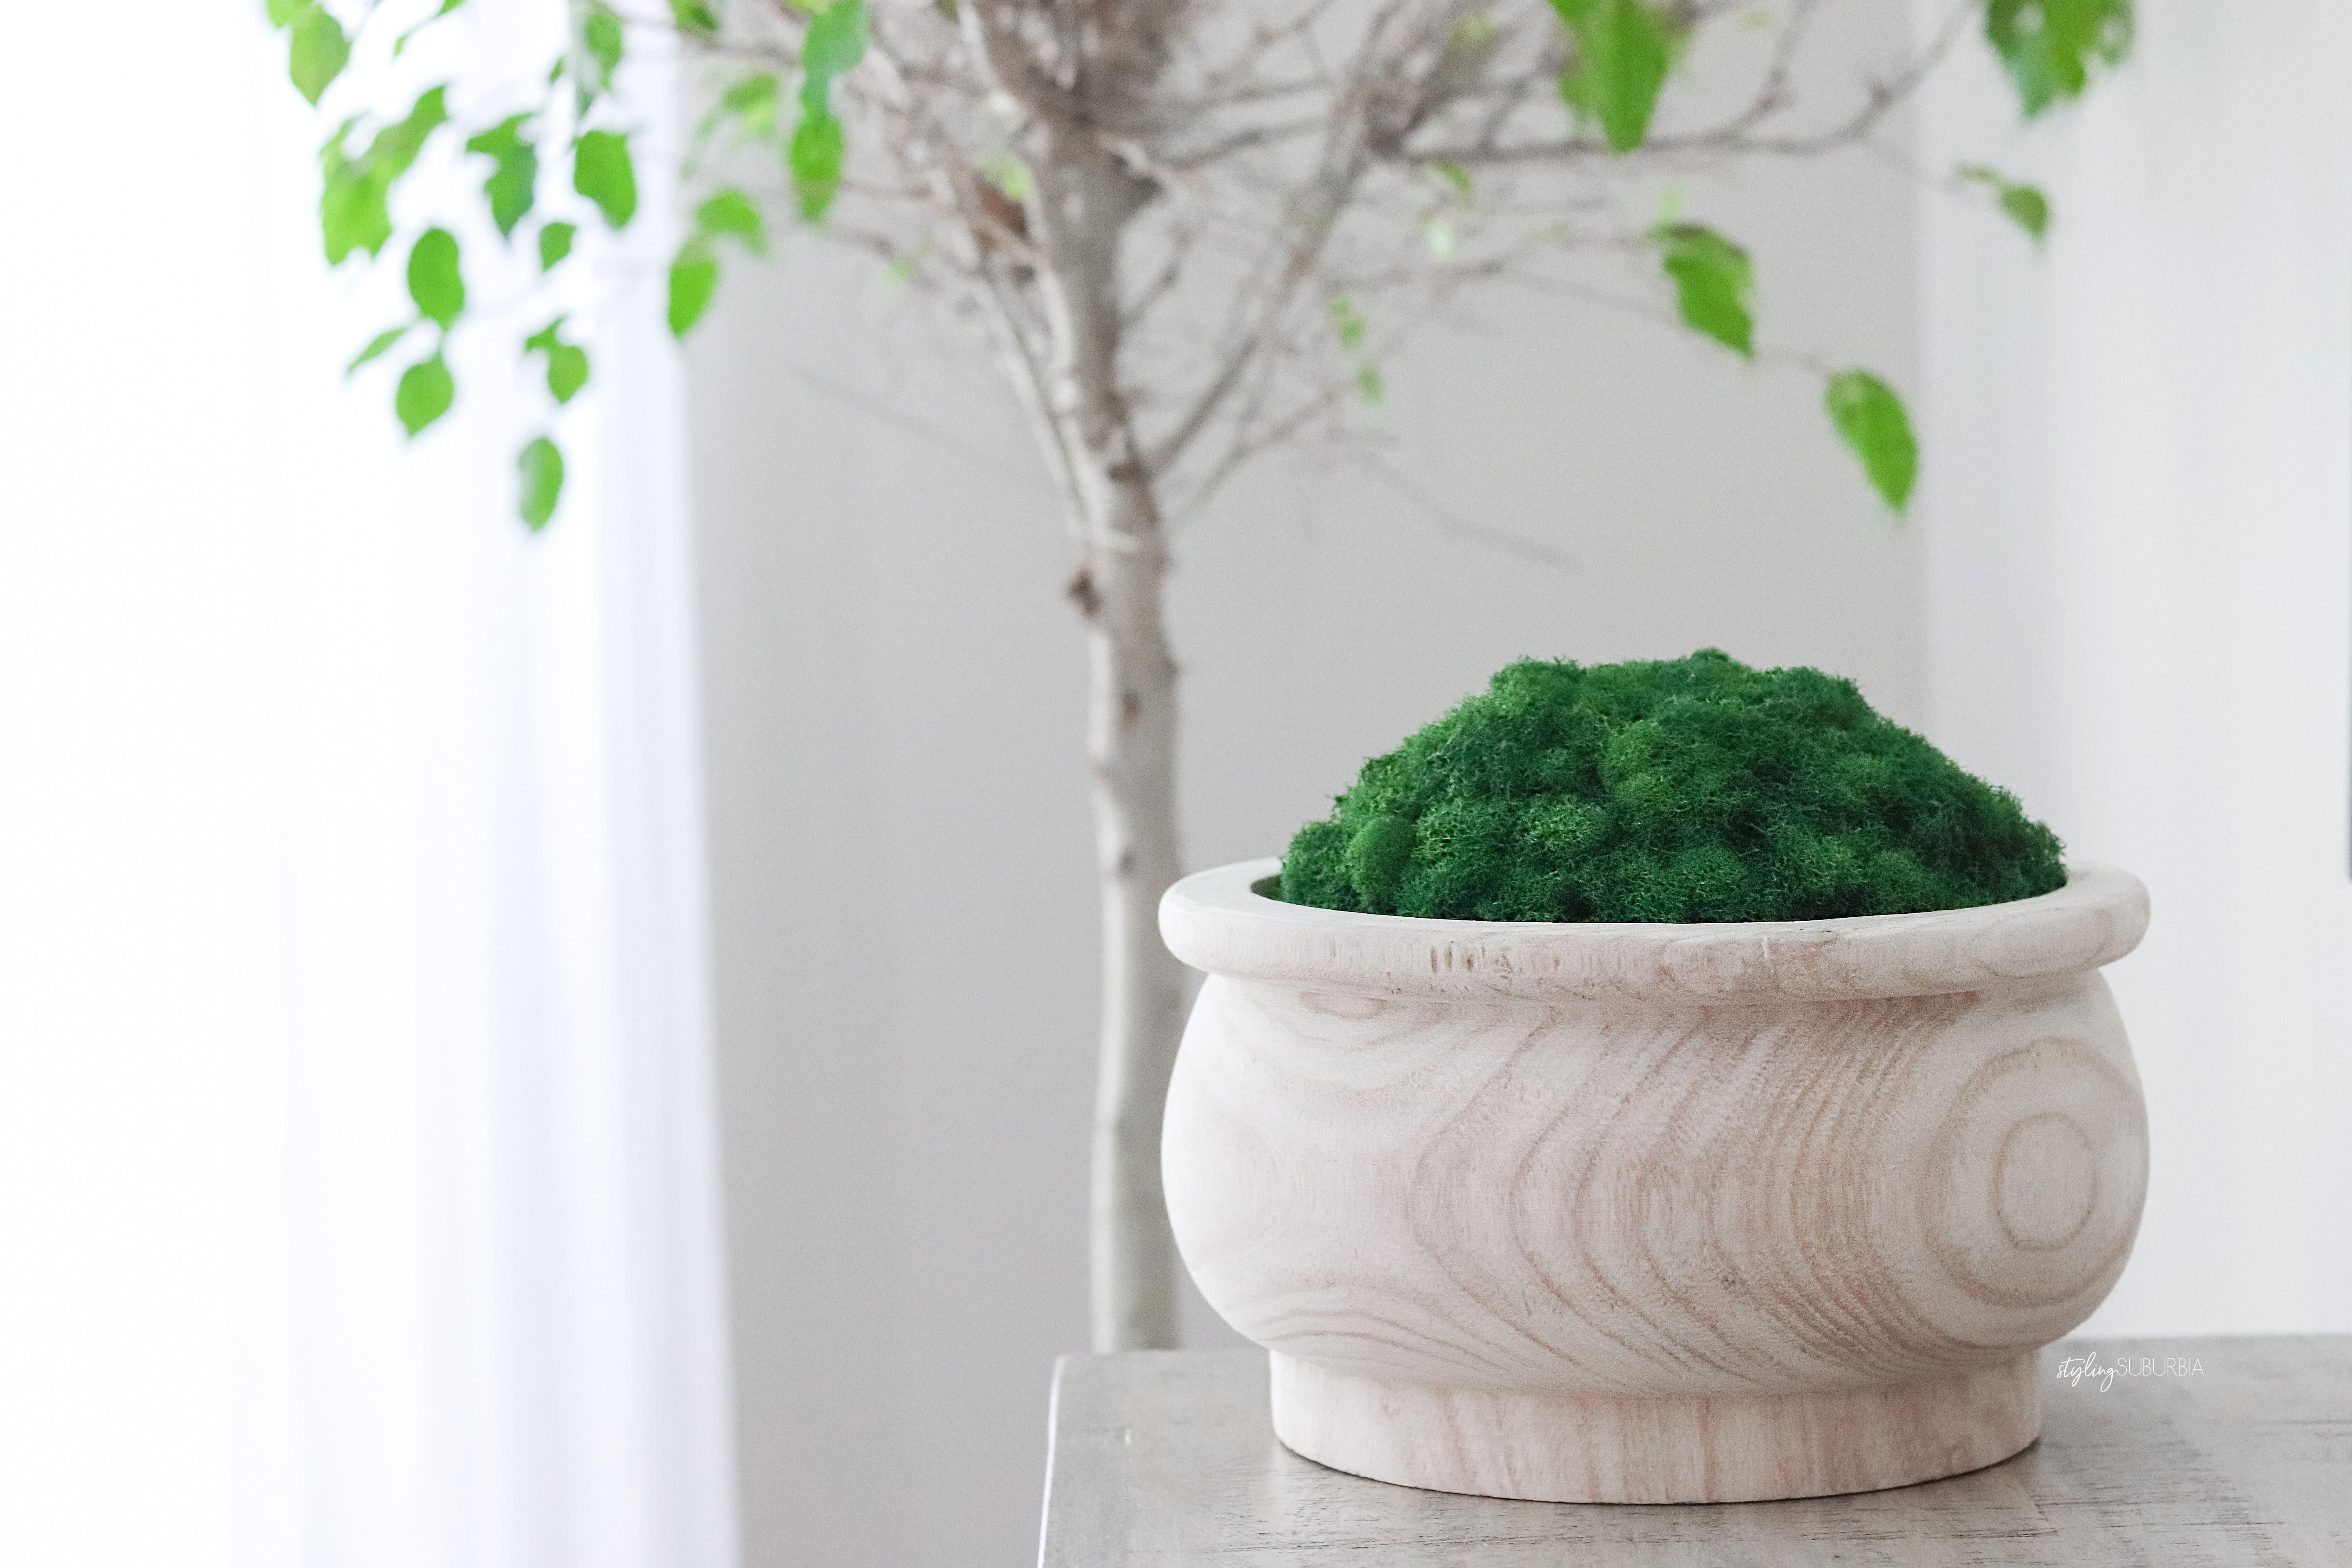
I’m here today to bring you a super simple DIY moss bowl project! I know there are a million and one of these out on the internet right now, but I used a different technique than most that made for a much more uniform and symmetrical moss mound. I’m not knocking the rock method, but I found this way to be simpler with a much bigger impact. Let’s get to it!
This post contains affiliate links. I will make a small commission if you make a purchase through one of these links, at no extra cost to you. Shopping through my links is GREATLY appreciated 🙂

First up, supplies. I ordered EVERYTHING from Amazon! No need to brave the germs at your local craft store, and you may have some of these already on hand. Here’s what you’ll need to get started:
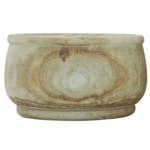
Wood Bowl

Hot Glue Gun
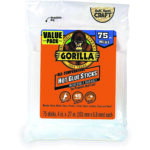
Glue Sticks
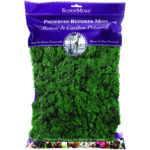
Reindeer Moss
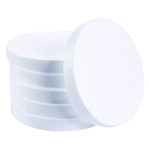
Foam Circles
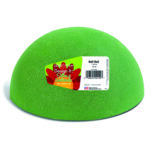
Floral Sphere
First step is to find a vessel that you love. When I saw this Creative Co-Op bowl on Amazon I instantly fell in love. I’m a sucker for light, natural wood tones and I knew that it would contrast beautifully against the green moss. Hurry up and snag this before it’s sold out! Inventory is low, so I’ll link some of my other favorite bowl options at the end. Just be sure to make sure the diameter of your bowl will work with the 8″ foam circles. You can always cut these down if you need to, or you can purchase larger diameter circles.
Next up, decide how high you want your moss mound to stick up out of the bowl. I ended up using only two of the foam circles for this particular bowl. Three would have fit here, but it’s just your personal preference. Next fire up your hot glue gun and attach your foam circles together and top them off with the floral sphere. I found it easier to just glue them all together so that everything was secure for the next step. Most people just stuff their bowls with newspaper or some other filling, but I found the foam circles much faster and also very level.
Next, start attaching your reindeer moss! I used this forest green color but there are numerous colors and moss varieties to choose from. Keep your foam base outside of the bowl for now and begin gluing your moss around the bottom of the floral sphere. You won’t need any moss below it on the foam circles since these will be down in the bowl. You don’t have to be too precise with the bottom layer as it’s mainly hidden inside the bowl. This is more so just to fill in the gap since the floral sphere is just slightly smaller than 8″.
Working your way around the sphere in circles, begin filling in with moss. Some of the moss clumps will be larger. I try to pick those out of the bag and start with those, and then I filled in with the smaller pieces. Once your sphere is completely covered, you’ll notice some areas are a little lower than others. Just fill these in with more moss on top until you get a uniform, symmetrical look to your mound. Keep rotating the sphere so you can see it from all angles. Once you’re done you should have something like this:

Once the glue has set, carefully place it into your bowl. You’ll have to press down gently around the edges to get it to fall into place. Once it’s in, that’s it! No messing with any filling to try and get everything level. You should have a perfect little moss bowl that looks super chic and expensive! Again, I think this method is so much simpler than stuffing a bowl and placing rocks to glue moss onto. This method also makes for a much lighter bowl, and the craft foam is a lot cheaper than rocks. All in all this is a simple and inexpensive DIY project that would be perfect for any skill level!

That’s it! Super simple, right? I had fun with this little project. I was feeling super unmotivated and generally very unproductive earlier this week, so I decided to take a little time for myself one day and made this. It’s nice to escape mentally for a little bit and let the creative side of my brain take over. If you need a little pick me up this is the perfect project! Easy and not all that time consuming. Let me know in the comments if you try this technique, and be sure to follow along on Instagram for more inspiration.